

 Image 1 of 5
 Image 2 of 5
 Image 3 of 5
 Image 4 of 5
 Image 5 of 5
12v Rear Blinkers


EMF Rear Indicator Lights Installation Guide
Tools and Materials Needed:
EMF 12 Volt Power Supply (Sold Separately)
EMF 12V Tail Light Harness (Sold Separately)
EMF Blinker Combo Switch with Flasher Box (Sold Separately)
Drill with a 3/8 inch drill bit
Wrenches for securing bolts
Installation Steps:
Power Connection
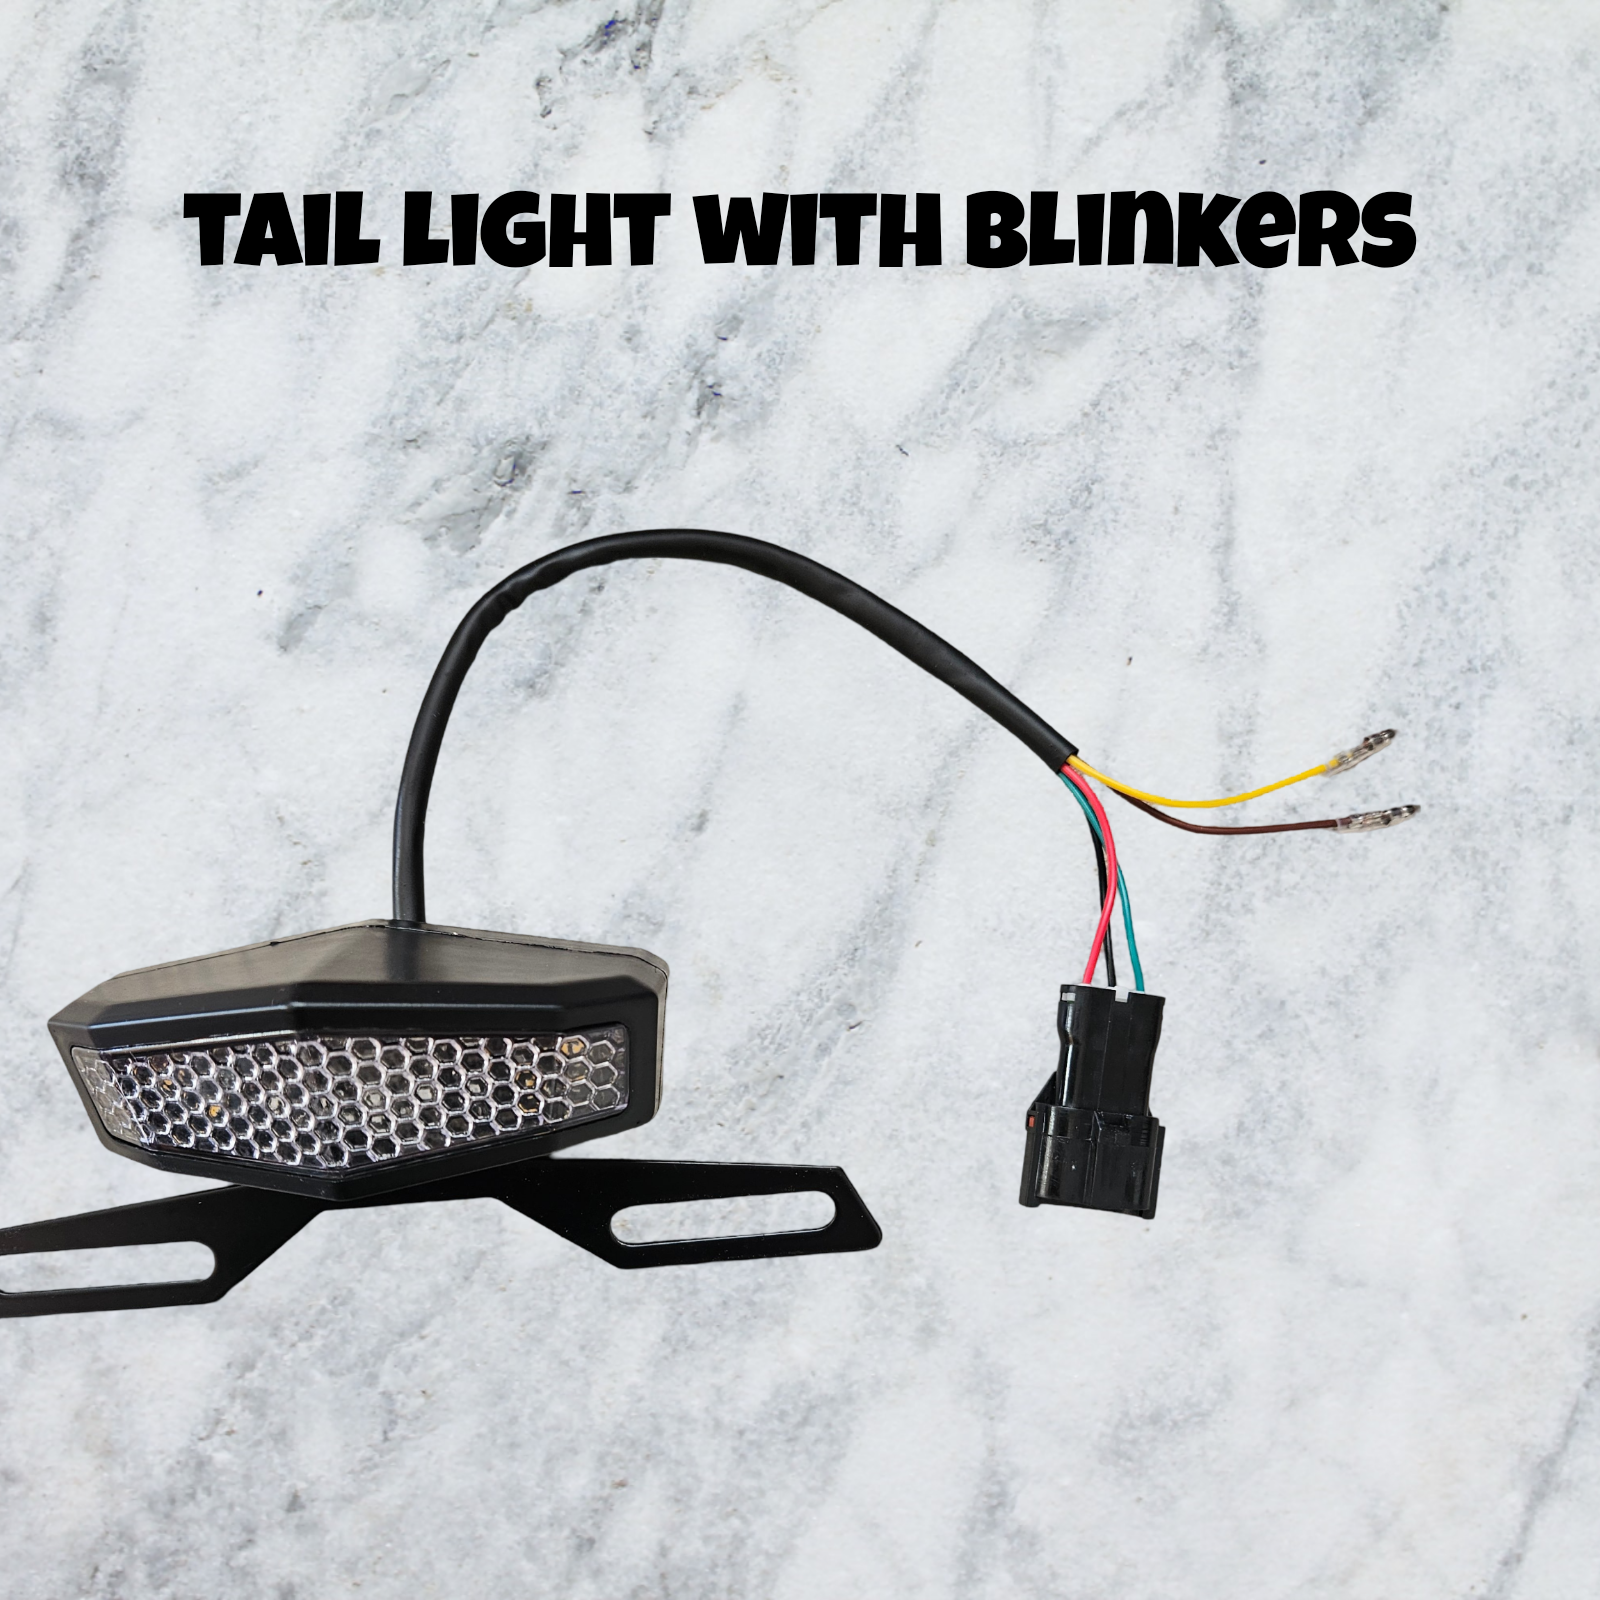
Connect your EMF 12 Volt Power Supply to your battery. Then, connect your EMF 12V Tail Light harness. (Refer to the specified install guide for details on this step.)Switch Connection
Connect the EMF Blinker Combo Switch with Flasher Box to the Power Supply. (Sold Separately. Ensure to follow the install guide provided separately.)Mark and Drill Mounting Holes
Choose the location for your rear blinkers and mark a center hole to drill. Use a drill to create a 3/8 inch hole at the marked spot for the installation.Secure the Flashers
Route the wires through the drilled hole. Bolt and secure the individual flasher in place.Connect the Wires
Take the two black wires from the blinkers and connect them to the black wires on the tail light harness.
Establish the Left Blinker, connect the red wire from the left rear blinker to the green wire on the tail light harness.
Connect the red wire from the right rear blinker to the white wire in the tail light harness.
Final Checks
Ensure all plastic sleeves are securely over the connections. Power on the system to test the functionality of the blinkers!
If you find that your left is right and right is left, turn off the 12 Volt system and switch the red wires on the blinkers.
For additional visual guidance, please refer to our installation video.