Image 1 of 2
 Image 2 of 2
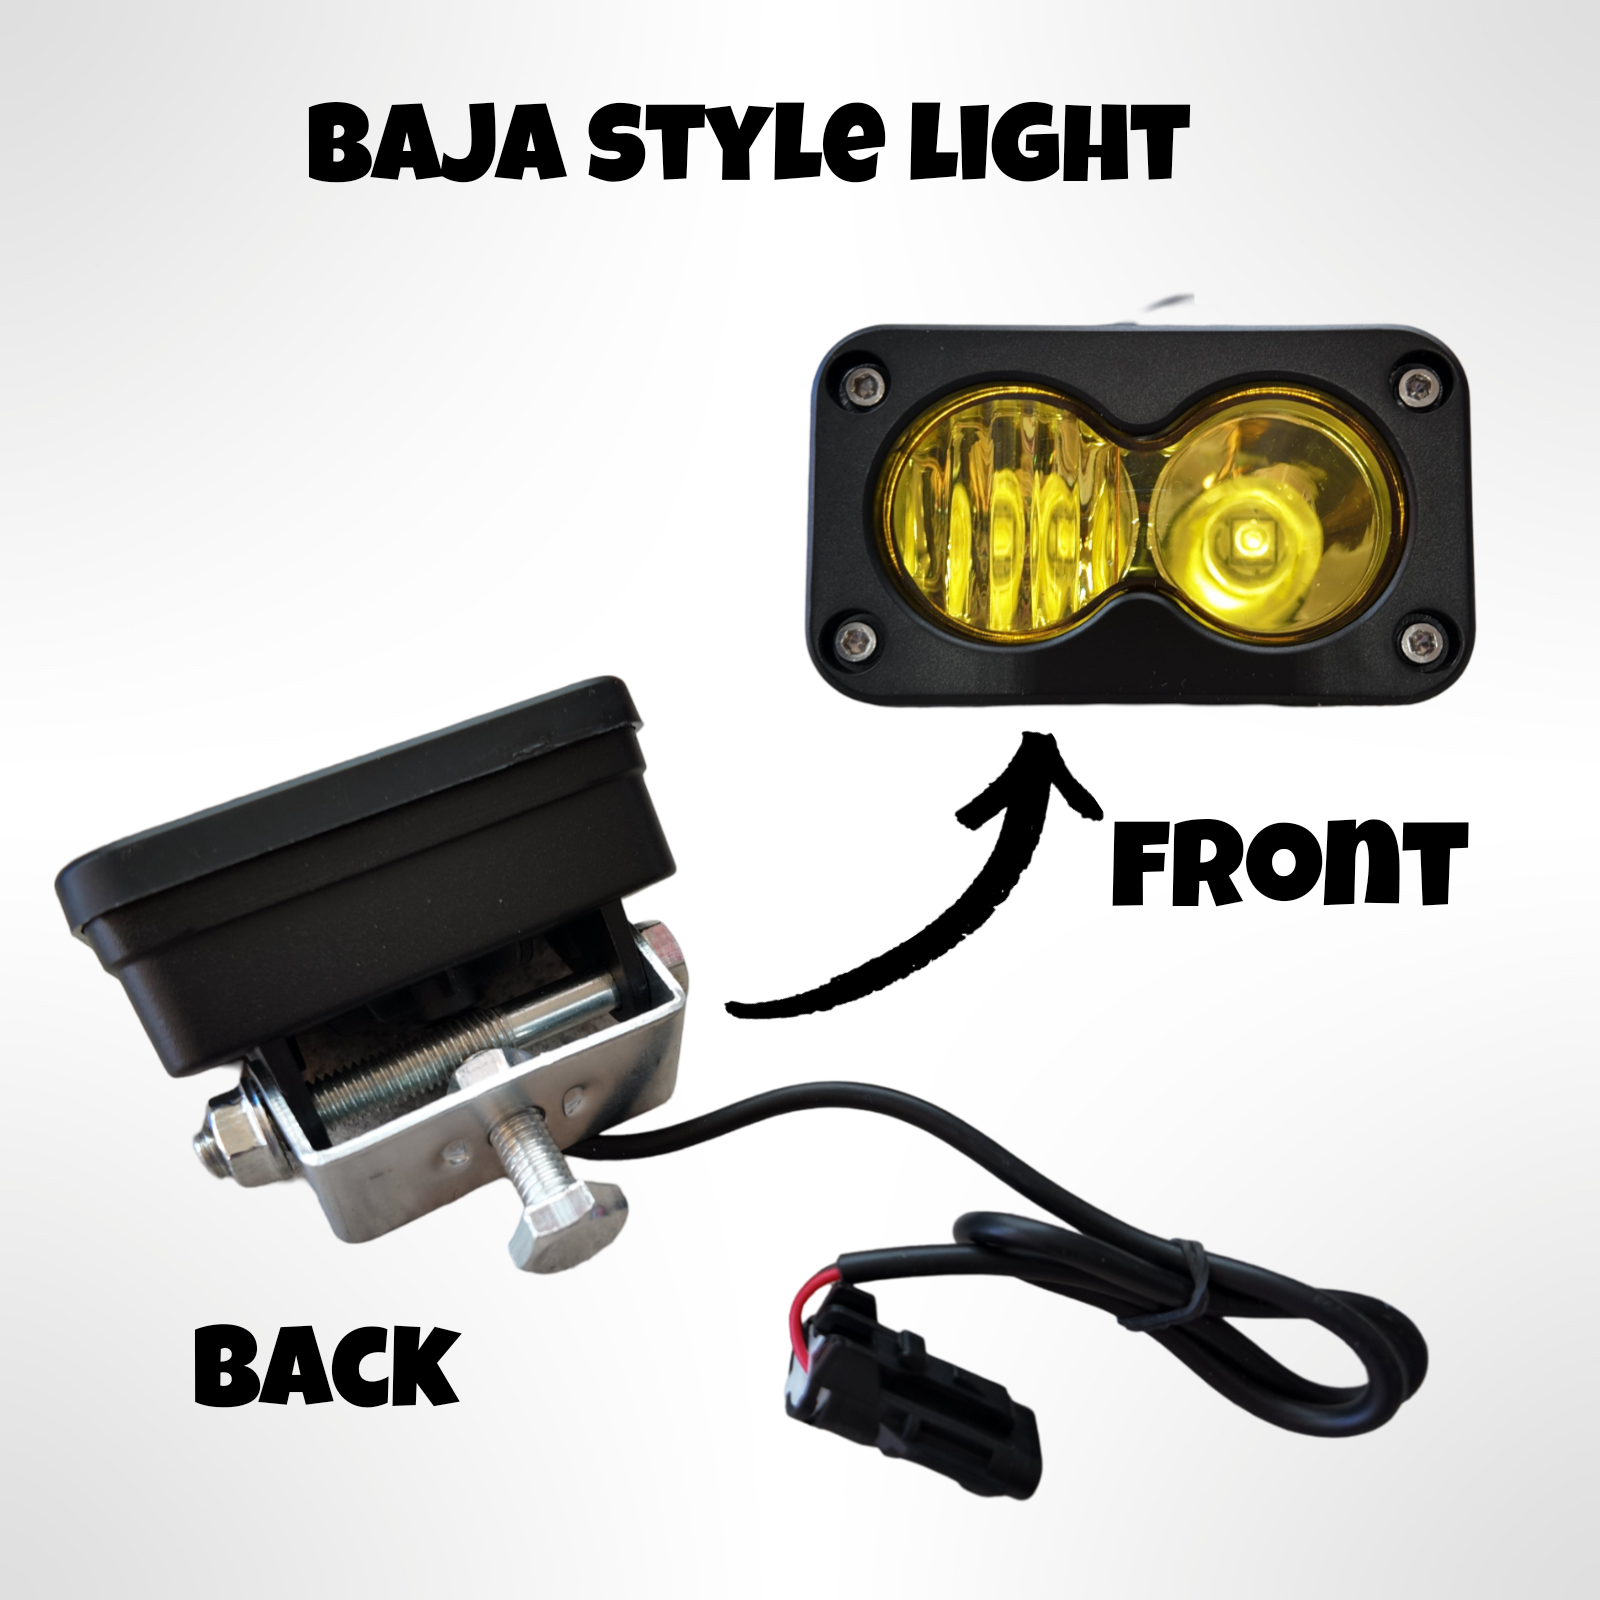
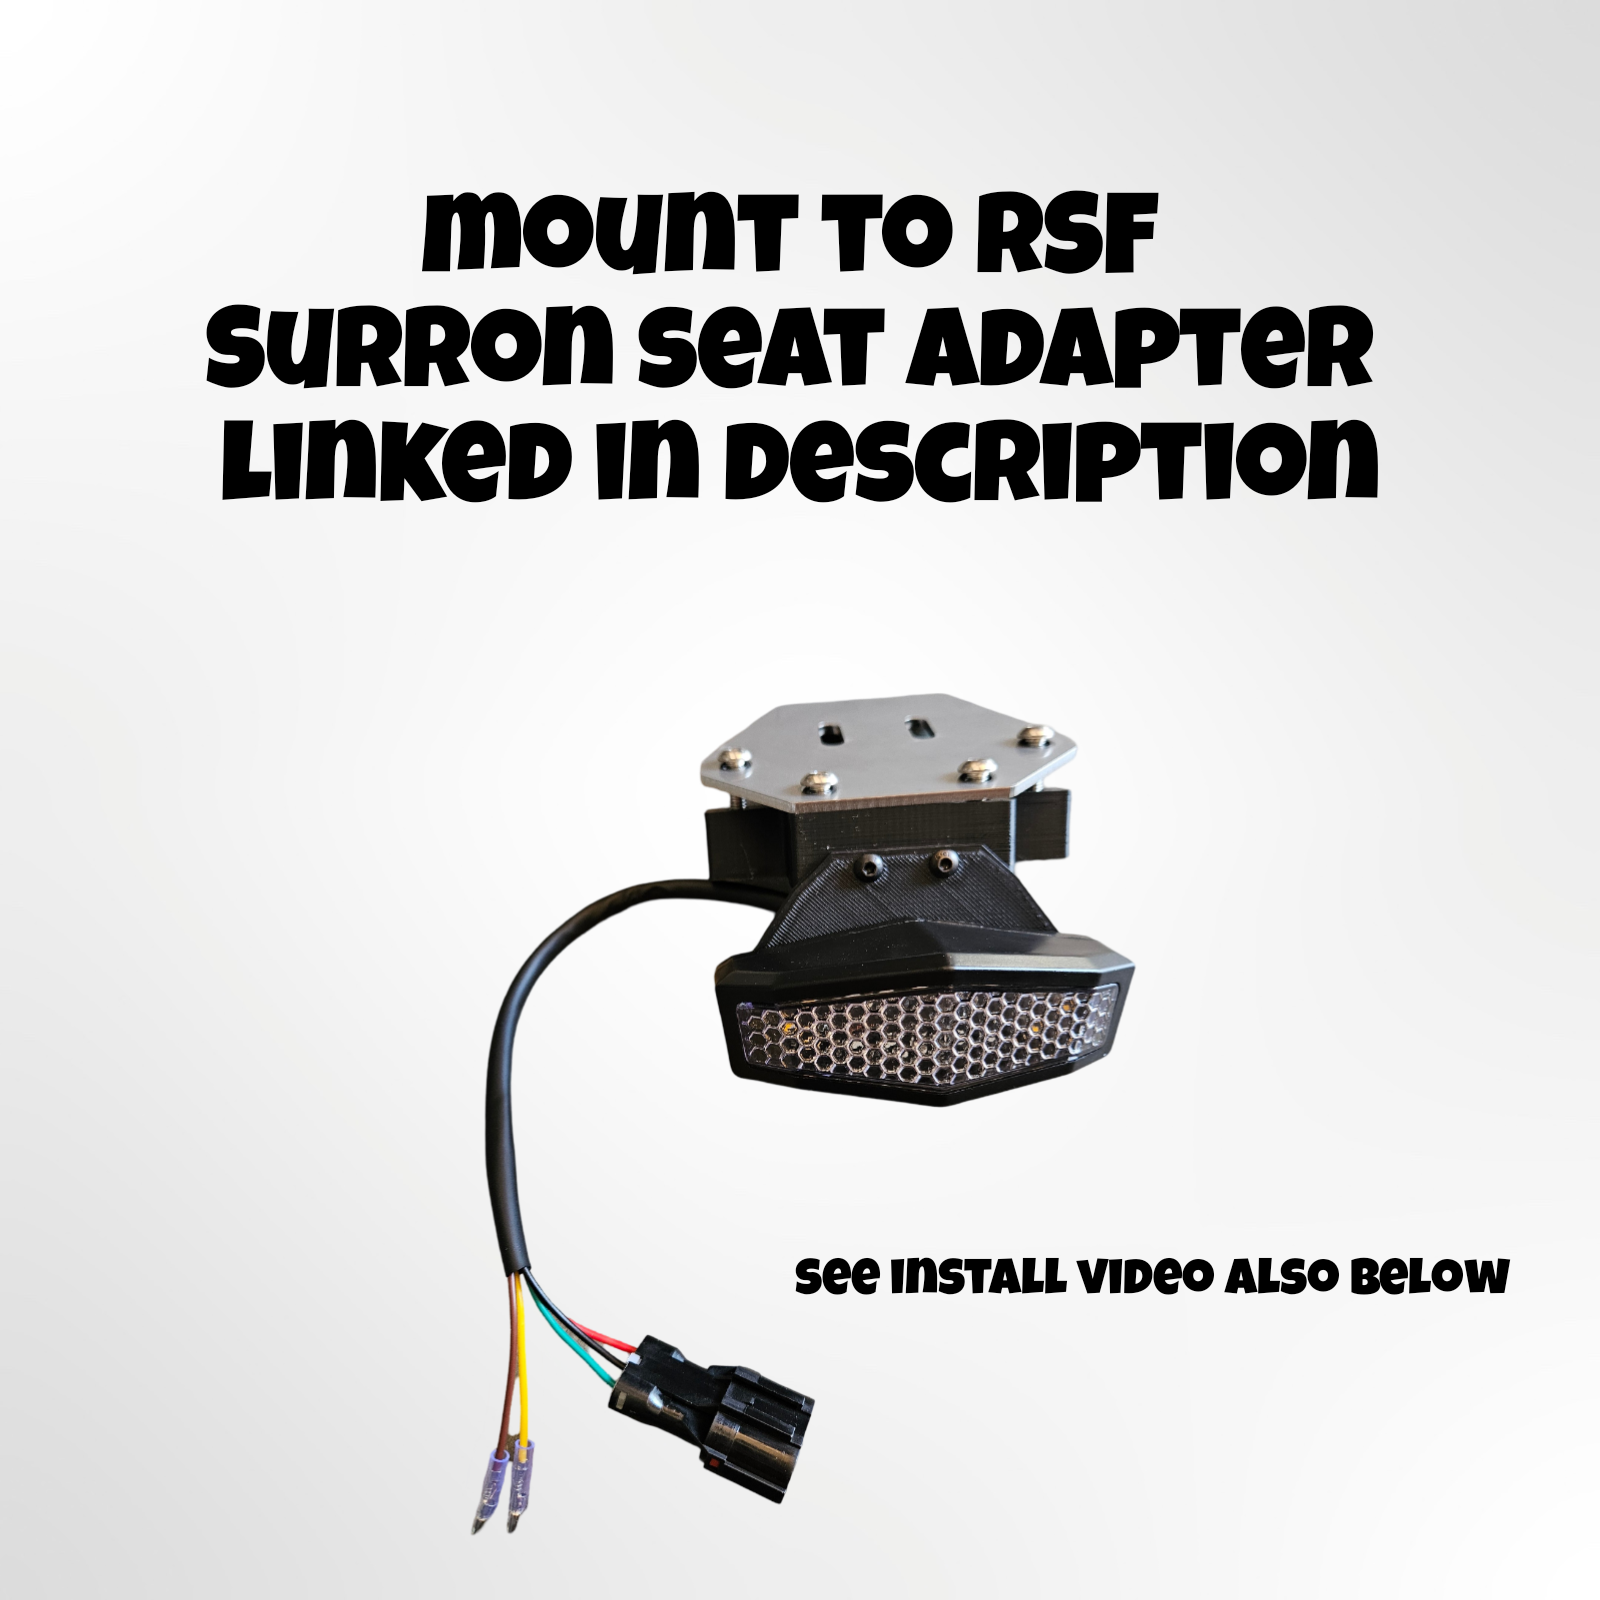
12v Front Blinker


EMF 12V Blinker Set Installation Instructions
Step 1: Connect your EMF 12 Volt Power Supply to your battery, and install your EMF main power on/off switch. Then, plug in your EMF Blinker Combo Switch with Flasher Box.
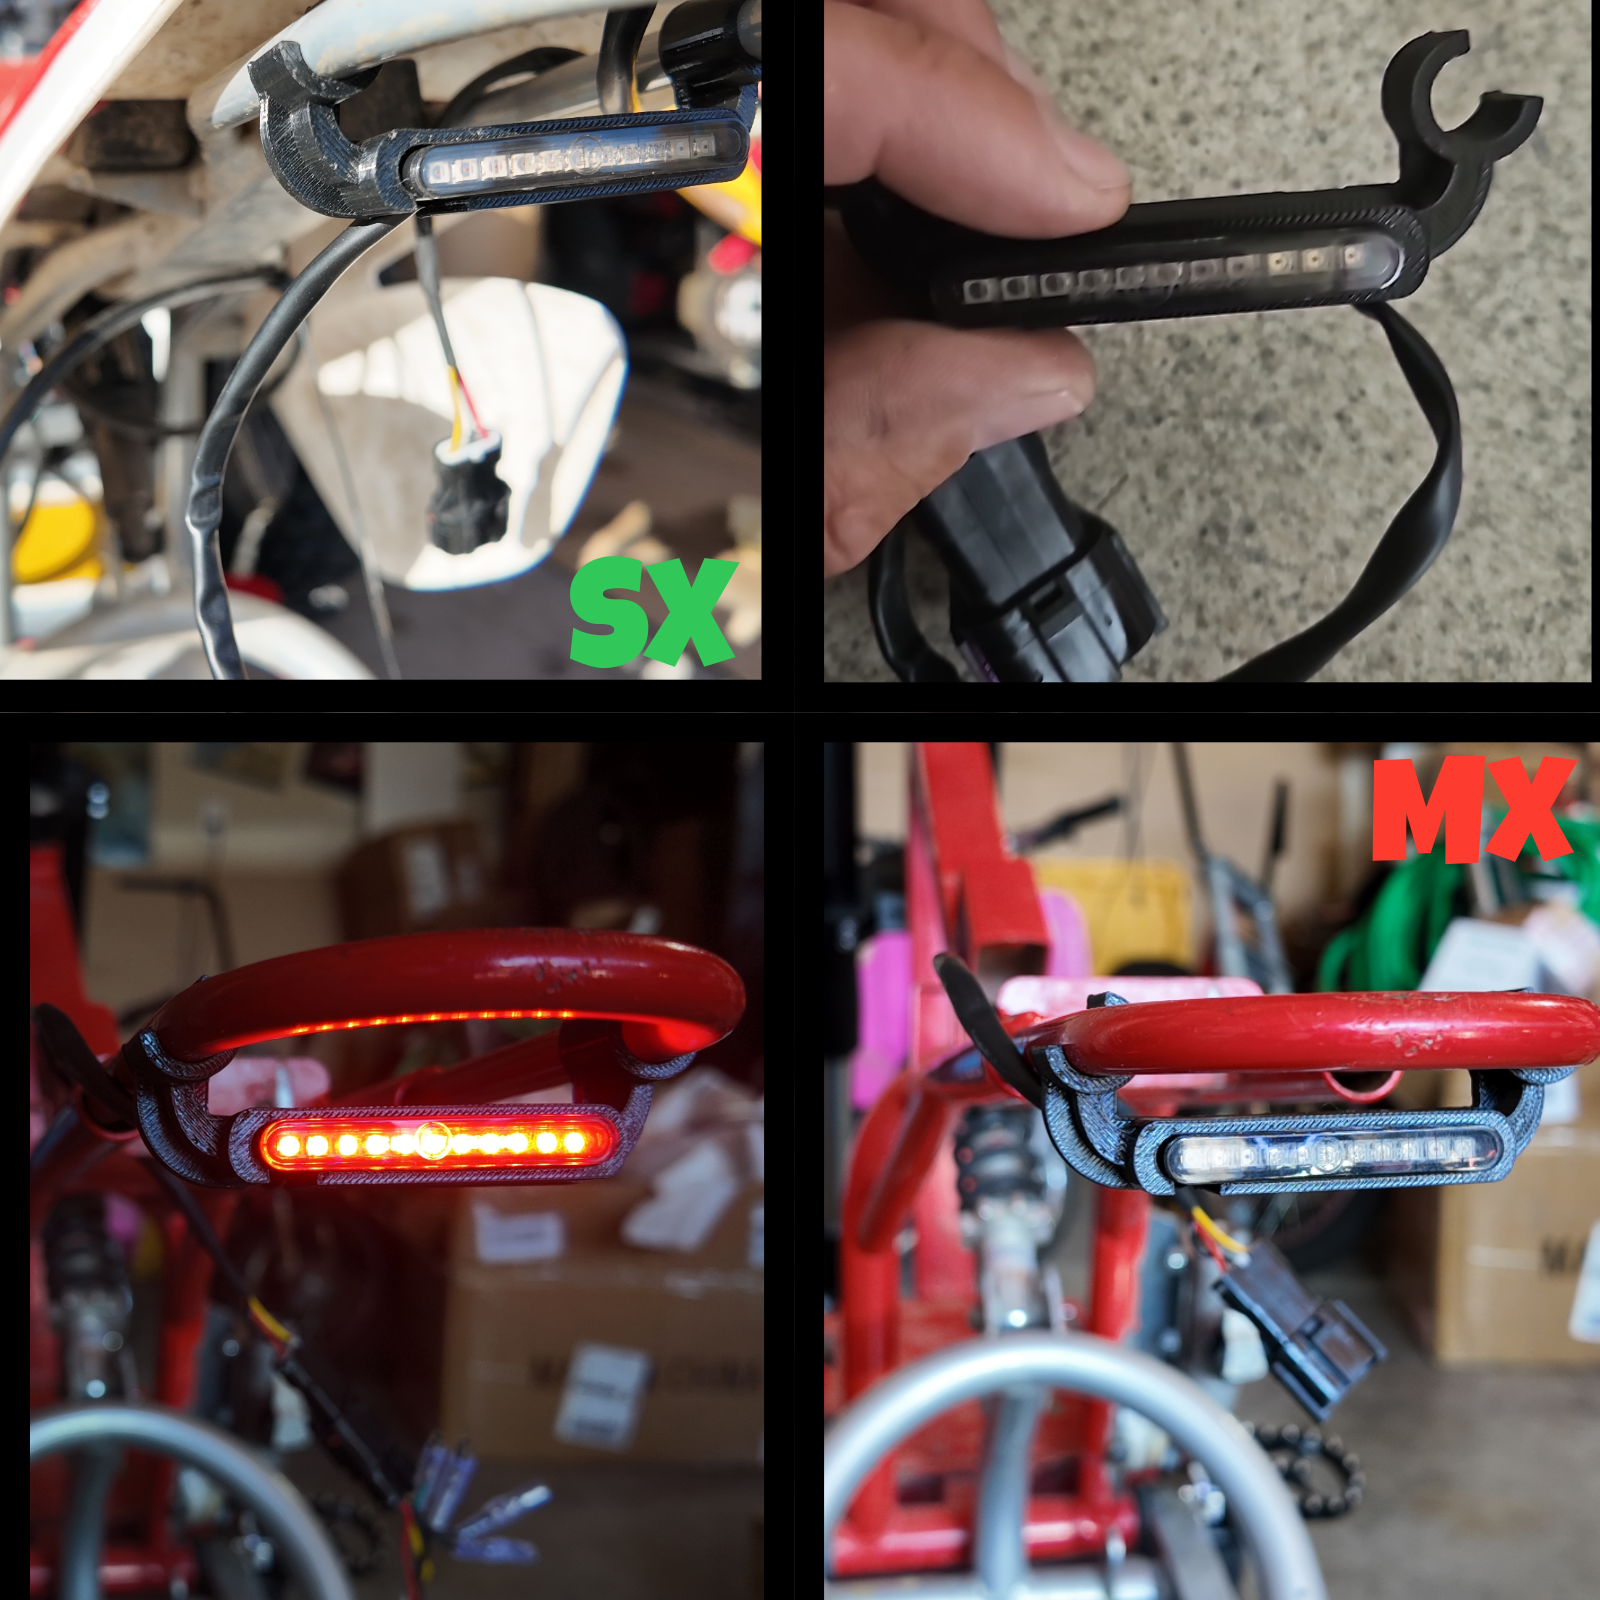
Step 2: Choose the location for your indicators and clean the surface thoroughly for optimal adhesion.
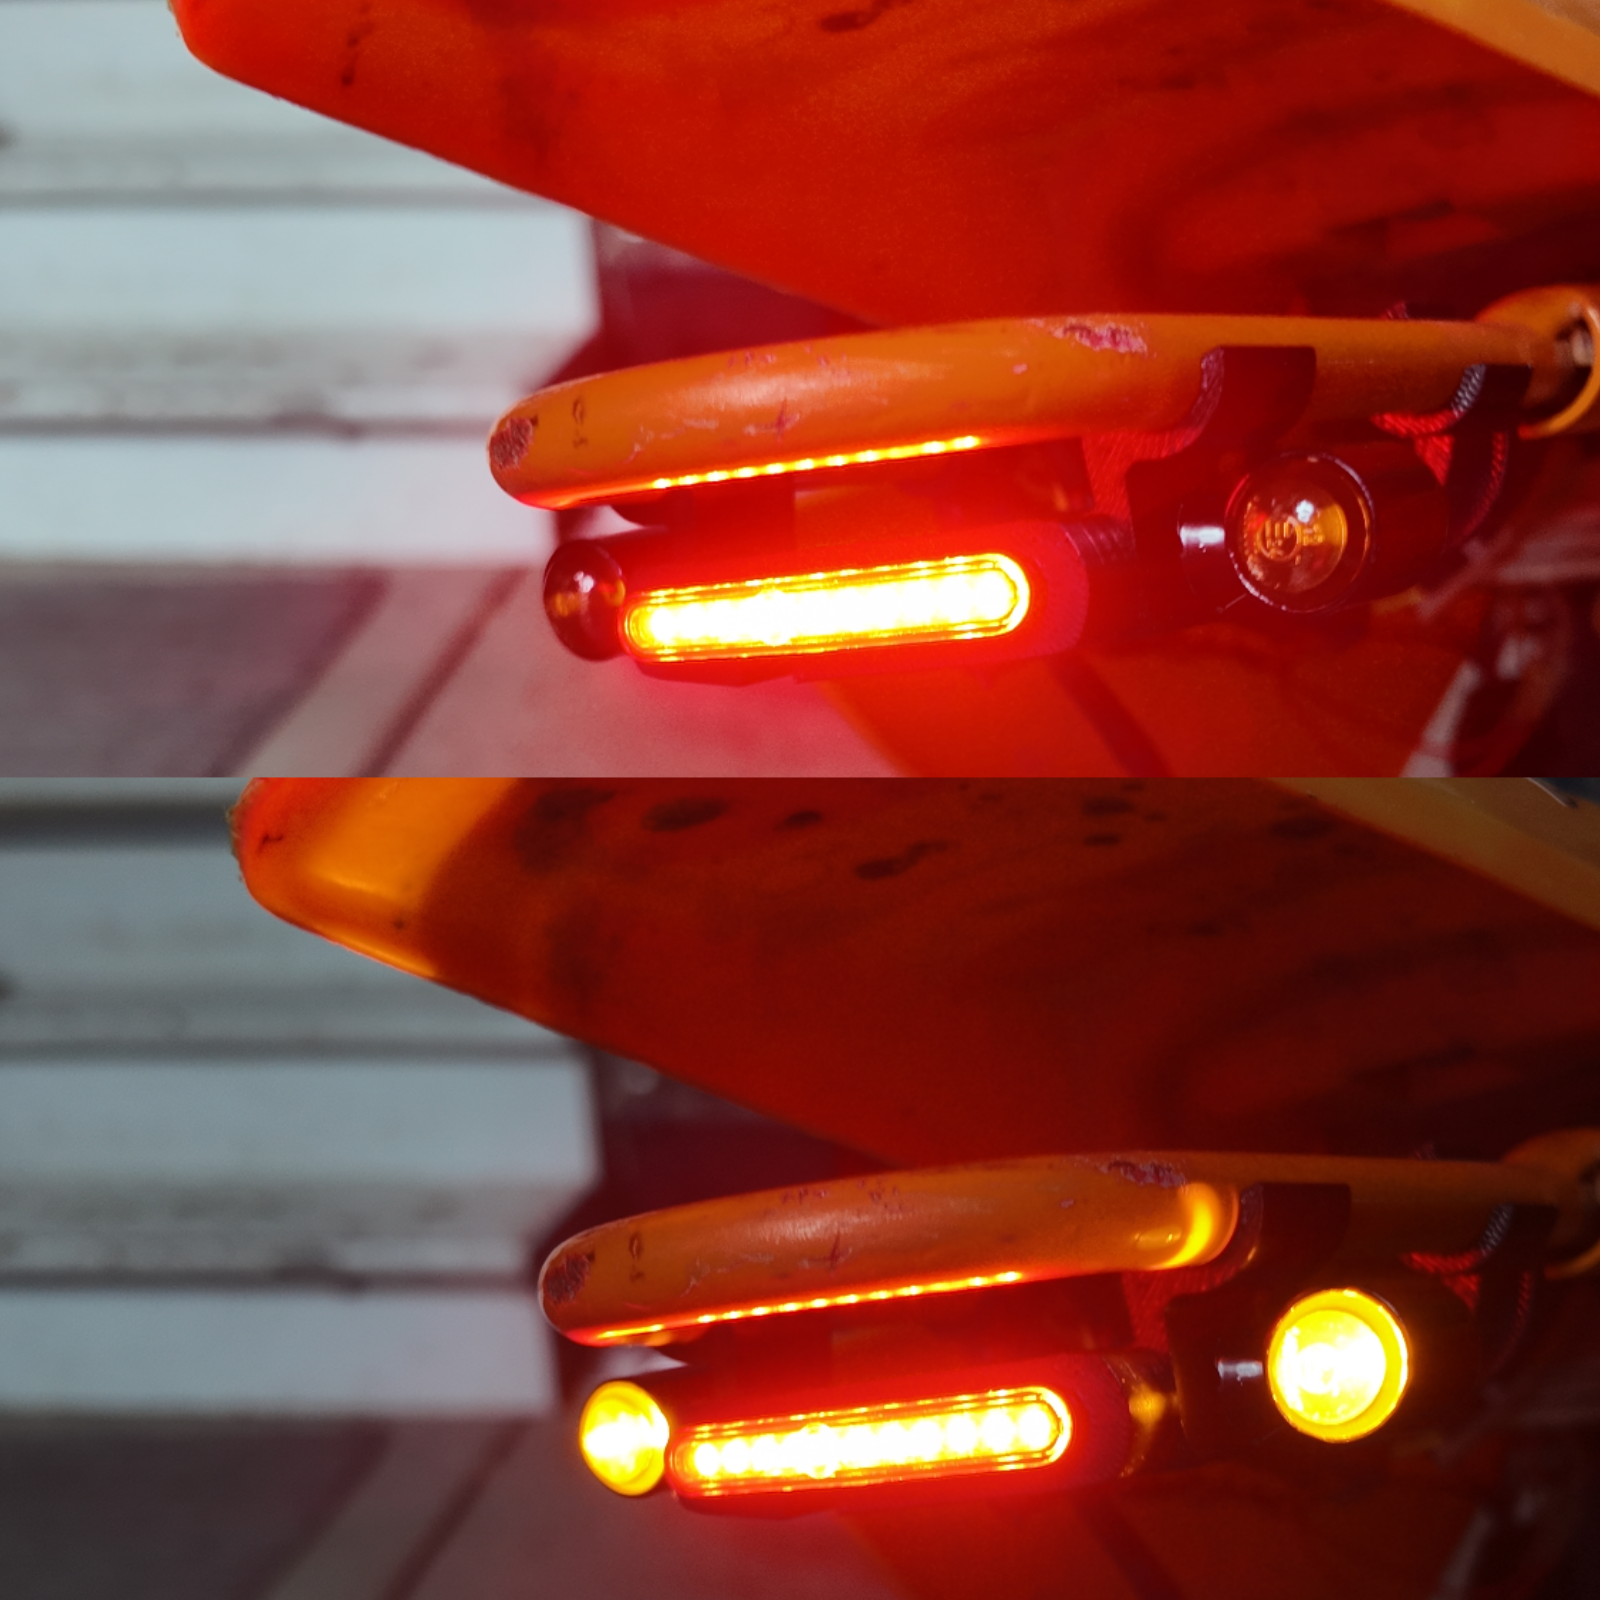
Step 3: Plug in the EMF Front Blinkers to ensure they are functioning correctly. Activate the left signal while making sure the hazards are off. Get ready to install the flashing blinker onto the left fork when facing the bike from your seated position.
Step 4: Route both wires through the center to ensure they are pointing towards each other. Otherwise they will look backwards.
Step 5: Take the flashing "now left" indicator, peel off the backing, and stick it where you prepared the surface. Secure the indicator with the zip tie around the fork, making it snug but not too tight to avoid breakage; we are not responsible for any damage.
Step 6: Repeat the process on the other side for the right indicator.
Step 7: Enjoy your new slick set up!
Please see the accompanying video for visual guidance!